Every time a new product gets listed in your database, a unique event ticket is created, or a new user signs up, you probably need a trackable QR code right away. Waiting to generate that asset manually is a bottleneck. With a Supabase webhooks QR code workflow, you can fire a request to the HitURL API the moment a row is inserted and get a dynamic, trackable QR code back in milliseconds.
This guide shows you exactly how to wire that up using Supabase Edge Functions and the HitURL REST API.
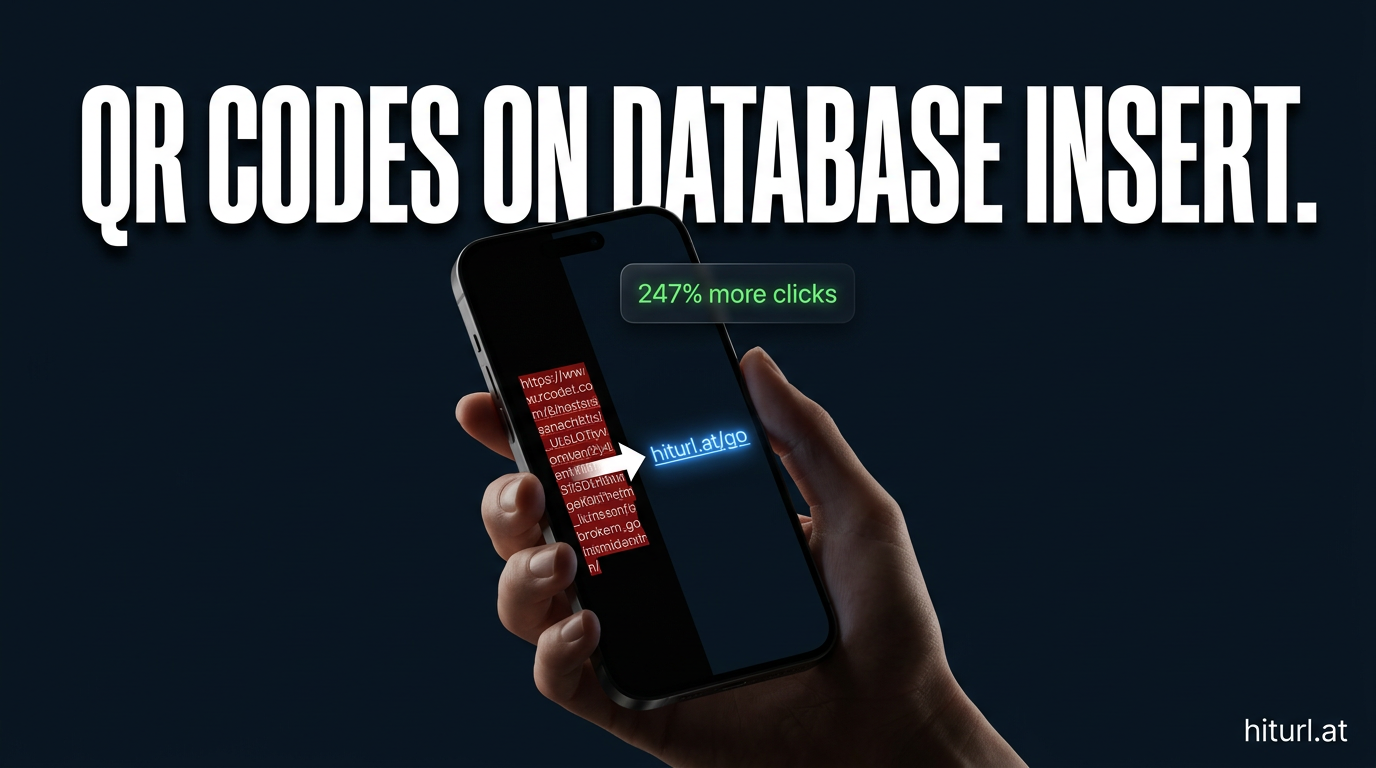
Why Dynamic QR Codes Belong in Your Database Workflow
A dynamic QR code, one where the destination URL can be changed after the code is printed or published, is fundamentally different from a static QR code. Static codes are frozen at creation. Dynamic codes stay live and give you click analytics, geo-targeting, and pixel retargeting on every scan.
When your application creates records at scale, such as product listings, event tickets, or restaurant tables, generating those codes by hand is not a workflow. It is a liability. You need the QR code to exist the moment the database row exists.
Every new database record that needs a public-facing touchpoint is also a candidate for a dynamic QR code. Automating that generation at the data layer means zero lag between creation and deployment.
If you want deeper context on what makes dynamic QR codes worth using over static ones, read this breakdown of dynamic and branded QR code creation before continuing.
What You Need Before You Start
This walkthrough assumes you already have a Supabase project with at least one table you want to react to. You also need a HitURL account to get your API key. HitURL is free to start, and the HitURL developer documentation covers every endpoint you will use here.
Here is the full prerequisites list:
- A Supabase project with a target table (e.g.,
products,tickets, orusers) - Supabase CLI installed locally for Edge Function development
- A HitURL account with an API key
- Basic familiarity with TypeScript or JavaScript (Edge Functions run on Deno)
- A destination URL pattern for your QR codes (e.g.,
https://yourapp.com/p/{id})
How Supabase Webhooks and Edge Functions Work Together
Supabase gives you two complementary tools here. Supabase Edge Functions are server-side TypeScript functions that run on Deno at the edge. Supabase Database Webhooks let you fire an HTTP POST request to any URL whenever a row is inserted, updated, or deleted in a table.
The architecture for this workflow is straightforward:
- A row is inserted into your target table.
- The Supabase Database Webhook fires a POST request to your Edge Function URL.
- The Edge Function extracts the relevant row data from the payload.
- It calls the HitURL API to create a short link with an embedded QR code.
- The API returns a QR code URL and a short link.
- The Edge Function writes those values back to the row via the Supabase client.
The Supabase webhook fires within milliseconds of a row insert. By the time your application renders the new record for a user, the QR code already exists and is stored on that record.
Step 1: Create Your Supabase Edge Function
Start by initializing a new Edge Function from the Supabase CLI:
supabase functions new generate-qr-codeThis creates a file at supabase/functions/generate-qr-code/index.ts. Open it and replace the default content with the following:
import { createClient } from 'https://esm.sh/@supabase/supabase-js@2'

const HITURL_API_KEY = Deno.env.get('HITURL_API_KEY')!
const SUPABASE_URL = Deno.env.get('SUPABASE_URL')!
const SUPABASE_SERVICE_ROLE_KEY = Deno.env.get('SUPABASE_SERVICE_ROLE_KEY')!

Deno.serve(async (req) => {
  const payload = await req.json()
  const record = payload.record

  if (!record || !record.id) {
    return new Response(JSON.stringify({ error: 'No record found' }), { status: 400 })
  }

  const destinationUrl = `https://yourapp.com/products/${record.id}`

  const hitUrlResponse = await fetch('https://hiturl.at/api/v1/links', {
    method: 'POST',
    headers: {
      'Authorization': `Bearer ${HITURL_API_KEY}`,
      'Content-Type': 'application/json',
    },
    body: JSON.stringify({
      url: destinationUrl,
      qr: true,
    }),
  })

  const linkData = await hitUrlResponse.json()

  const supabase = createClient(SUPABASE_URL, SUPABASE_SERVICE_ROLE_KEY)

  await supabase
    .from('products')
    .update({
      short_url: linkData.short_url,
      qr_code_url: linkData.qr_code_url,
    })
    .eq('id', record.id)

  return new Response(JSON.stringify({ success: true, qr: linkData.qr_code_url }), {
    headers: { 'Content-Type': 'application/json' },
  })
})
This function receives the webhook payload, builds a destination URL from the new record's ID, calls HitURL to create a short link with a QR code, then writes the results back to the products table. Adapt the table name and destination URL pattern to your own schema.
For more examples of how to call the HitURL API from different environments, see the URL shortener API code examples guide.
Step 2: Set Your Environment Variables
Your Edge Function needs three secrets. Set them with the Supabase CLI:
supabase secrets set HITURL_API_KEY=your_hiturl_api_key
supabase secrets set SUPABASE_URL=https://your-project-ref.supabase.co
supabase secrets set SUPABASE_SERVICE_ROLE_KEY=your_service_role_key
Never commit these values to your repository. The service role key bypasses Row Level Security, which is what you need here since the function writes back to the database on behalf of the system, not an end user.
Step 3: Deploy the Function and Configure the Webhook
Deploy the function to your Supabase project:
supabase functions deploy generate-qr-codeOnce deployed, copy the function URL from your Supabase dashboard. It looks like this:
https://your-project-ref.supabase.co/functions/v1/generate-qr-codeNow set up the Database Webhook. In your Supabase dashboard, go to Database > Webhooks and create a new webhook with these settings:
- Table: products (or your target table)
- Events: INSERT only
- Type: HTTP Request
- URL: your Edge Function URL
- HTTP Method: POST
- Headers: Add
Authorization: Bearer your_supabase_anon_key
Save the webhook. From this point forward, every INSERT on the products table triggers your Edge Function automatically.
Configuring the webhook to fire only on INSERT keeps your function lean and avoids redundant API calls on UPDATE or DELETE events. You can always add a separate webhook for those events if your use case requires it.
See how HitURL tracks every click, fires your pixels, and generates QR codes, free at hiturl.at.
The "Record-to-Asset" Framework
This workflow follows what you can call the Record-to-Asset Framework: every new database record that needs a public touchpoint should automatically generate its own trackable link asset at insert time, not at render time or on demand.
The three rules of the Record-to-Asset Framework are:
- Generate at insert, not on request. Your QR code exists before anyone asks for it.
- Store the asset reference on the record. The
qr_code_urlandshort_urlcolumns live next to the data they represent. - Use dynamic assets only. A dynamic QR code can be retargeted, redirected, and analyzed. A static one cannot.
This pattern works for e-commerce products, event tickets, restaurant tables, hotel rooms, physical assets in inventory systems, and any other domain where records map to real-world objects that people interact with.
Is This Approach Better Than a No-Code Automation Tool?
Yes, for most production applications. No-code tools like n8n are excellent for prototyping and internal workflows. But when you need millisecond latency, direct database write-back, and full control over error handling, a Supabase Edge Function is the right tool. That said, if your team prefers a visual workflow approach, the n8n URL shortener automation guide shows how to build a similar pipeline without writing code.
The Edge Function approach also gives you granular retry logic, logging via Supabase's built-in function logs, and the ability to add conditional logic: for example, only generate a QR code for products above a certain price threshold or in a specific category.
A Supabase Edge Function running at the database layer is 10 to 100 times faster than a polling-based no-code automation for the same task. For real-time user-facing applications, that difference is visible.
Handling Errors and Retries
The HitURL API returns standard HTTP status codes. A 201 means the link and QR code were created successfully. A 429 means you have hit a rate limit. A 4xx range error usually means a malformed request or an invalid API key.
Add basic error handling to your Edge Function:
if (!hitUrlResponse.ok) {
  console.error('HitURL API error:', hitUrlResponse.status, await hitUrlResponse.text())
  return new Response(JSON.stringify({ error: 'QR generation failed' }), { status: 500 })
}
Supabase does not automatically retry failed webhook deliveries by default, so you should also consider adding a qr_generated boolean column to your table and running a scheduled function to catch any rows where QR generation failed on the first attempt.
According to Supabase's webhook documentation, webhook payloads are delivered with a timeout, so keeping your Edge Function response time under two seconds is important for reliability.
Frequently Asked Questions
Can I generate QR codes for multiple tables at once?
Yes. Deploy one Edge Function per table, or build a single function that reads a table field from the webhook payload and routes accordingly. Each function gets its own webhook trigger in the Supabase dashboard.
Does HitURL support custom aliases for programmatically generated links?
Yes. You can pass a custom_alias field in your API request to create short links like hiturl.at/product-abc123. This is useful when you want the short URL to reflect the record ID or a human-readable slug.
How do I update the QR code destination after creation?
Because HitURL generates dynamic QR codes, you can update the destination URL via the API without regenerating the QR code image. The same QR code image continues to work, and scans go to the new destination immediately.
Is there a rate limit on the HitURL API?
Rate limits depend on your HitURL plan. For high-volume insert workloads, check the HitURL developer docs for current rate limit tiers and how to handle 429 responses with exponential backoff.
Can I attach retargeting pixels to the generated links?
Yes. HitURL supports Facebook, Google, LinkedIn, Twitter, AdRoll, Quora, and GTM pixels. You can attach a pixel to a link via the API at creation time, which means every scan of your auto-generated QR code fires your retargeting pixel automatically.
Start Tracking Every Scan From Day One
You now have everything you need to build a production-ready Supabase webhooks QR code pipeline. Every new row in your database becomes a trackable, dynamic asset in milliseconds, with no manual steps and no lag between creation and deployment.
The Record-to-Asset Framework keeps your architecture clean: generate at insert, store on the record, and use dynamic assets that you can update, analyze, and retarget long after they go live.
See how HitURL tracks every click, fires your pixels, and generates QR codes. Create your free account at hiturl.at.